
Yesterday we completed a job that we’ve been putting off for a while due to not having the time and resources to be able to do it, so I am going to talk you through how to change brake discs and pads (on a van!). My van scraped through its MOT last year on the condition of the brakes, so I bought some new parts in the EuroCarParts January sale. If you know you need to service/repair your vehicle at some point, sign up to their mailing list and buy your parts when they have a sale! They do them fairly often, so if you can get away with waiting you can save a load of money. I got all new discs and pads for 50% of the retail price by waiting for one of their regular sales.
We knew it was going to be a tough job so we blocked out a whole weekend to do it, just incase of any issues we may encounter along the way. We used axle stands on each corner so we could work on multiple sides at once instead of just jacking one side up at a time. It is also much more stable as the van is level at all times, although I’m still not a huge fan of working with it raised up like that! Once all the wheels were off we placed them under the body so if the van did come off the stands it would crush the wheels instead of us!
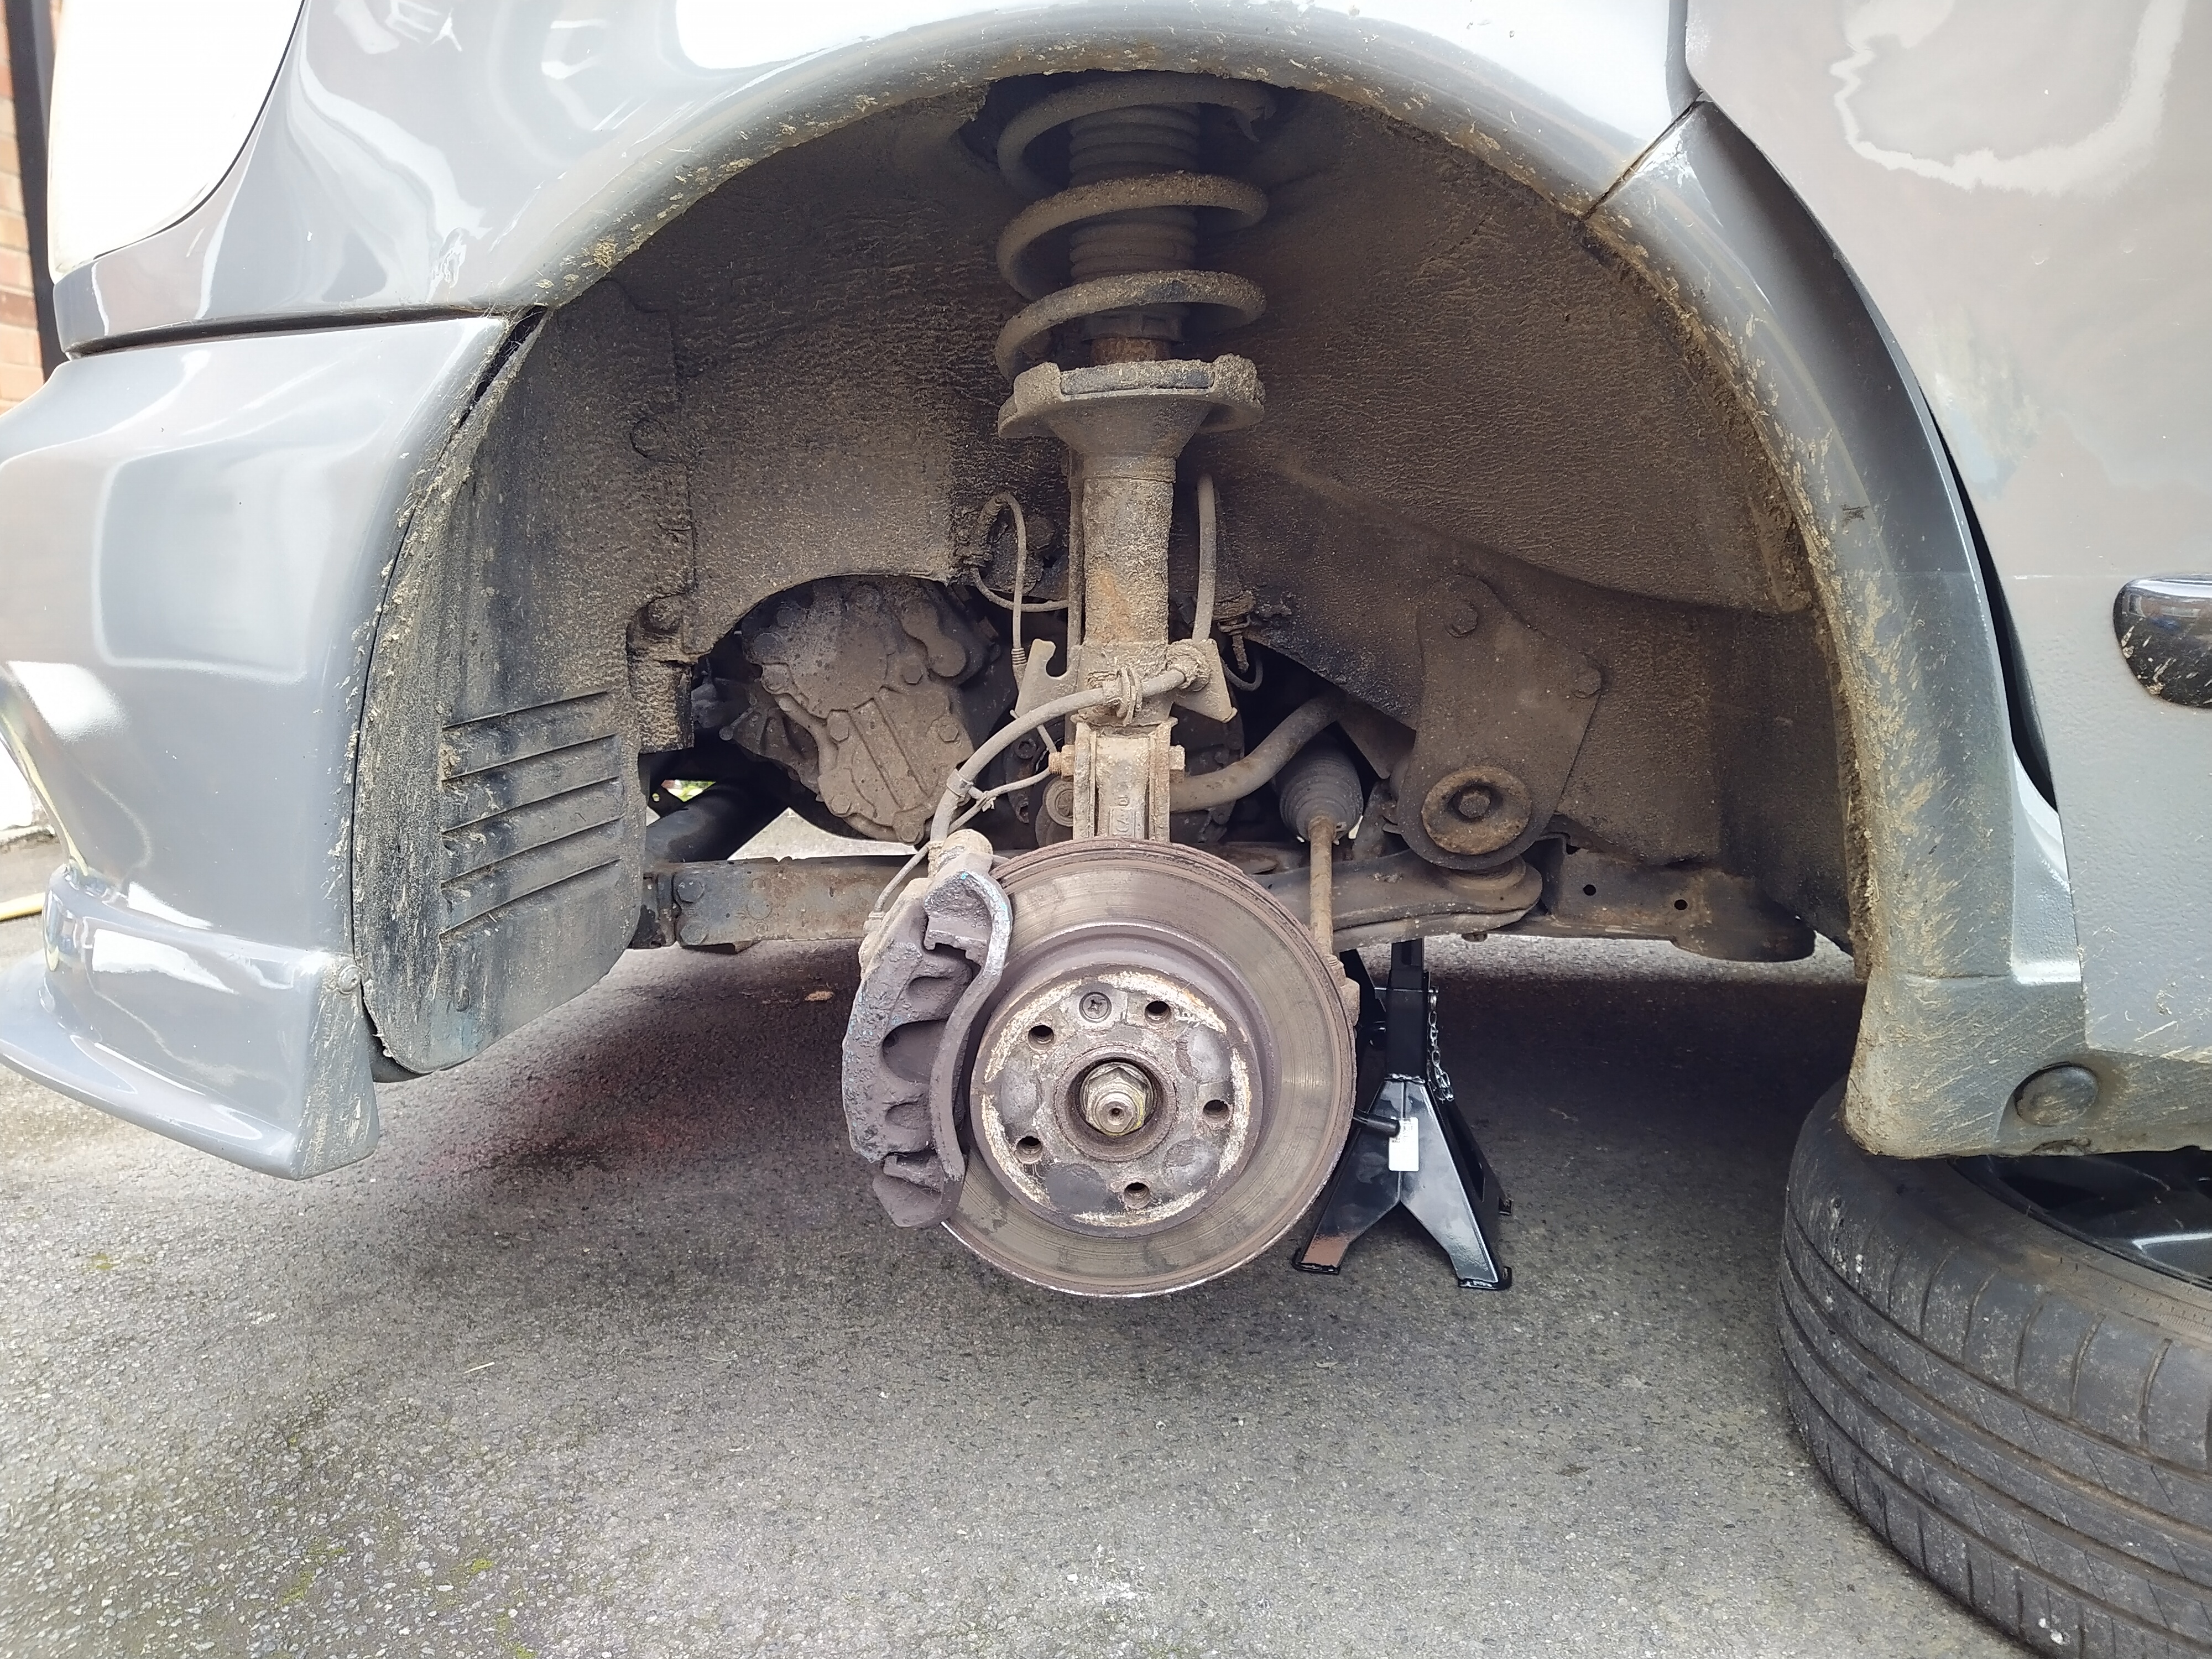
Once the wheels were off we could see the various brake components weren’t in great condition, so we used plenty of XCP One (https://xcp-protection.com/products/xcp-one/) and left it soaking in on all of the nuts and bolts. This was an absolute life saver during this job and I would wholeheartedly recommend it! It’s a fairly steep cost but so worth it as it saved us so much time in the long run.
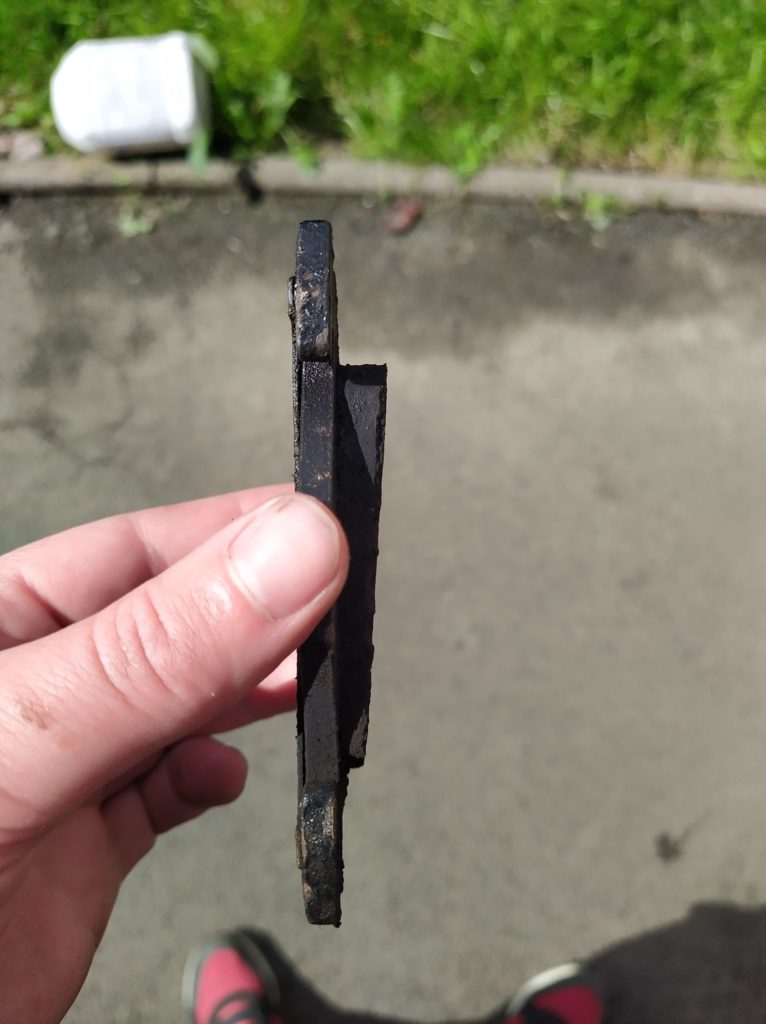
The rear pads were in terrible condition, as you can see from the photo above it has been fitted incorrectly and stuck on so it’s worn down the pad unevenly. This means I’ve had reduced fuel economy and performance as the brakes will have been binding as I’ve been driving along. This was due to the sliders on the calipers being painted so the pads were getting stuck on the uneven surface. We’ve cleaned these up with sandpaper and they’re good as new now, so the pads can move freely back and forth as the piston operates.
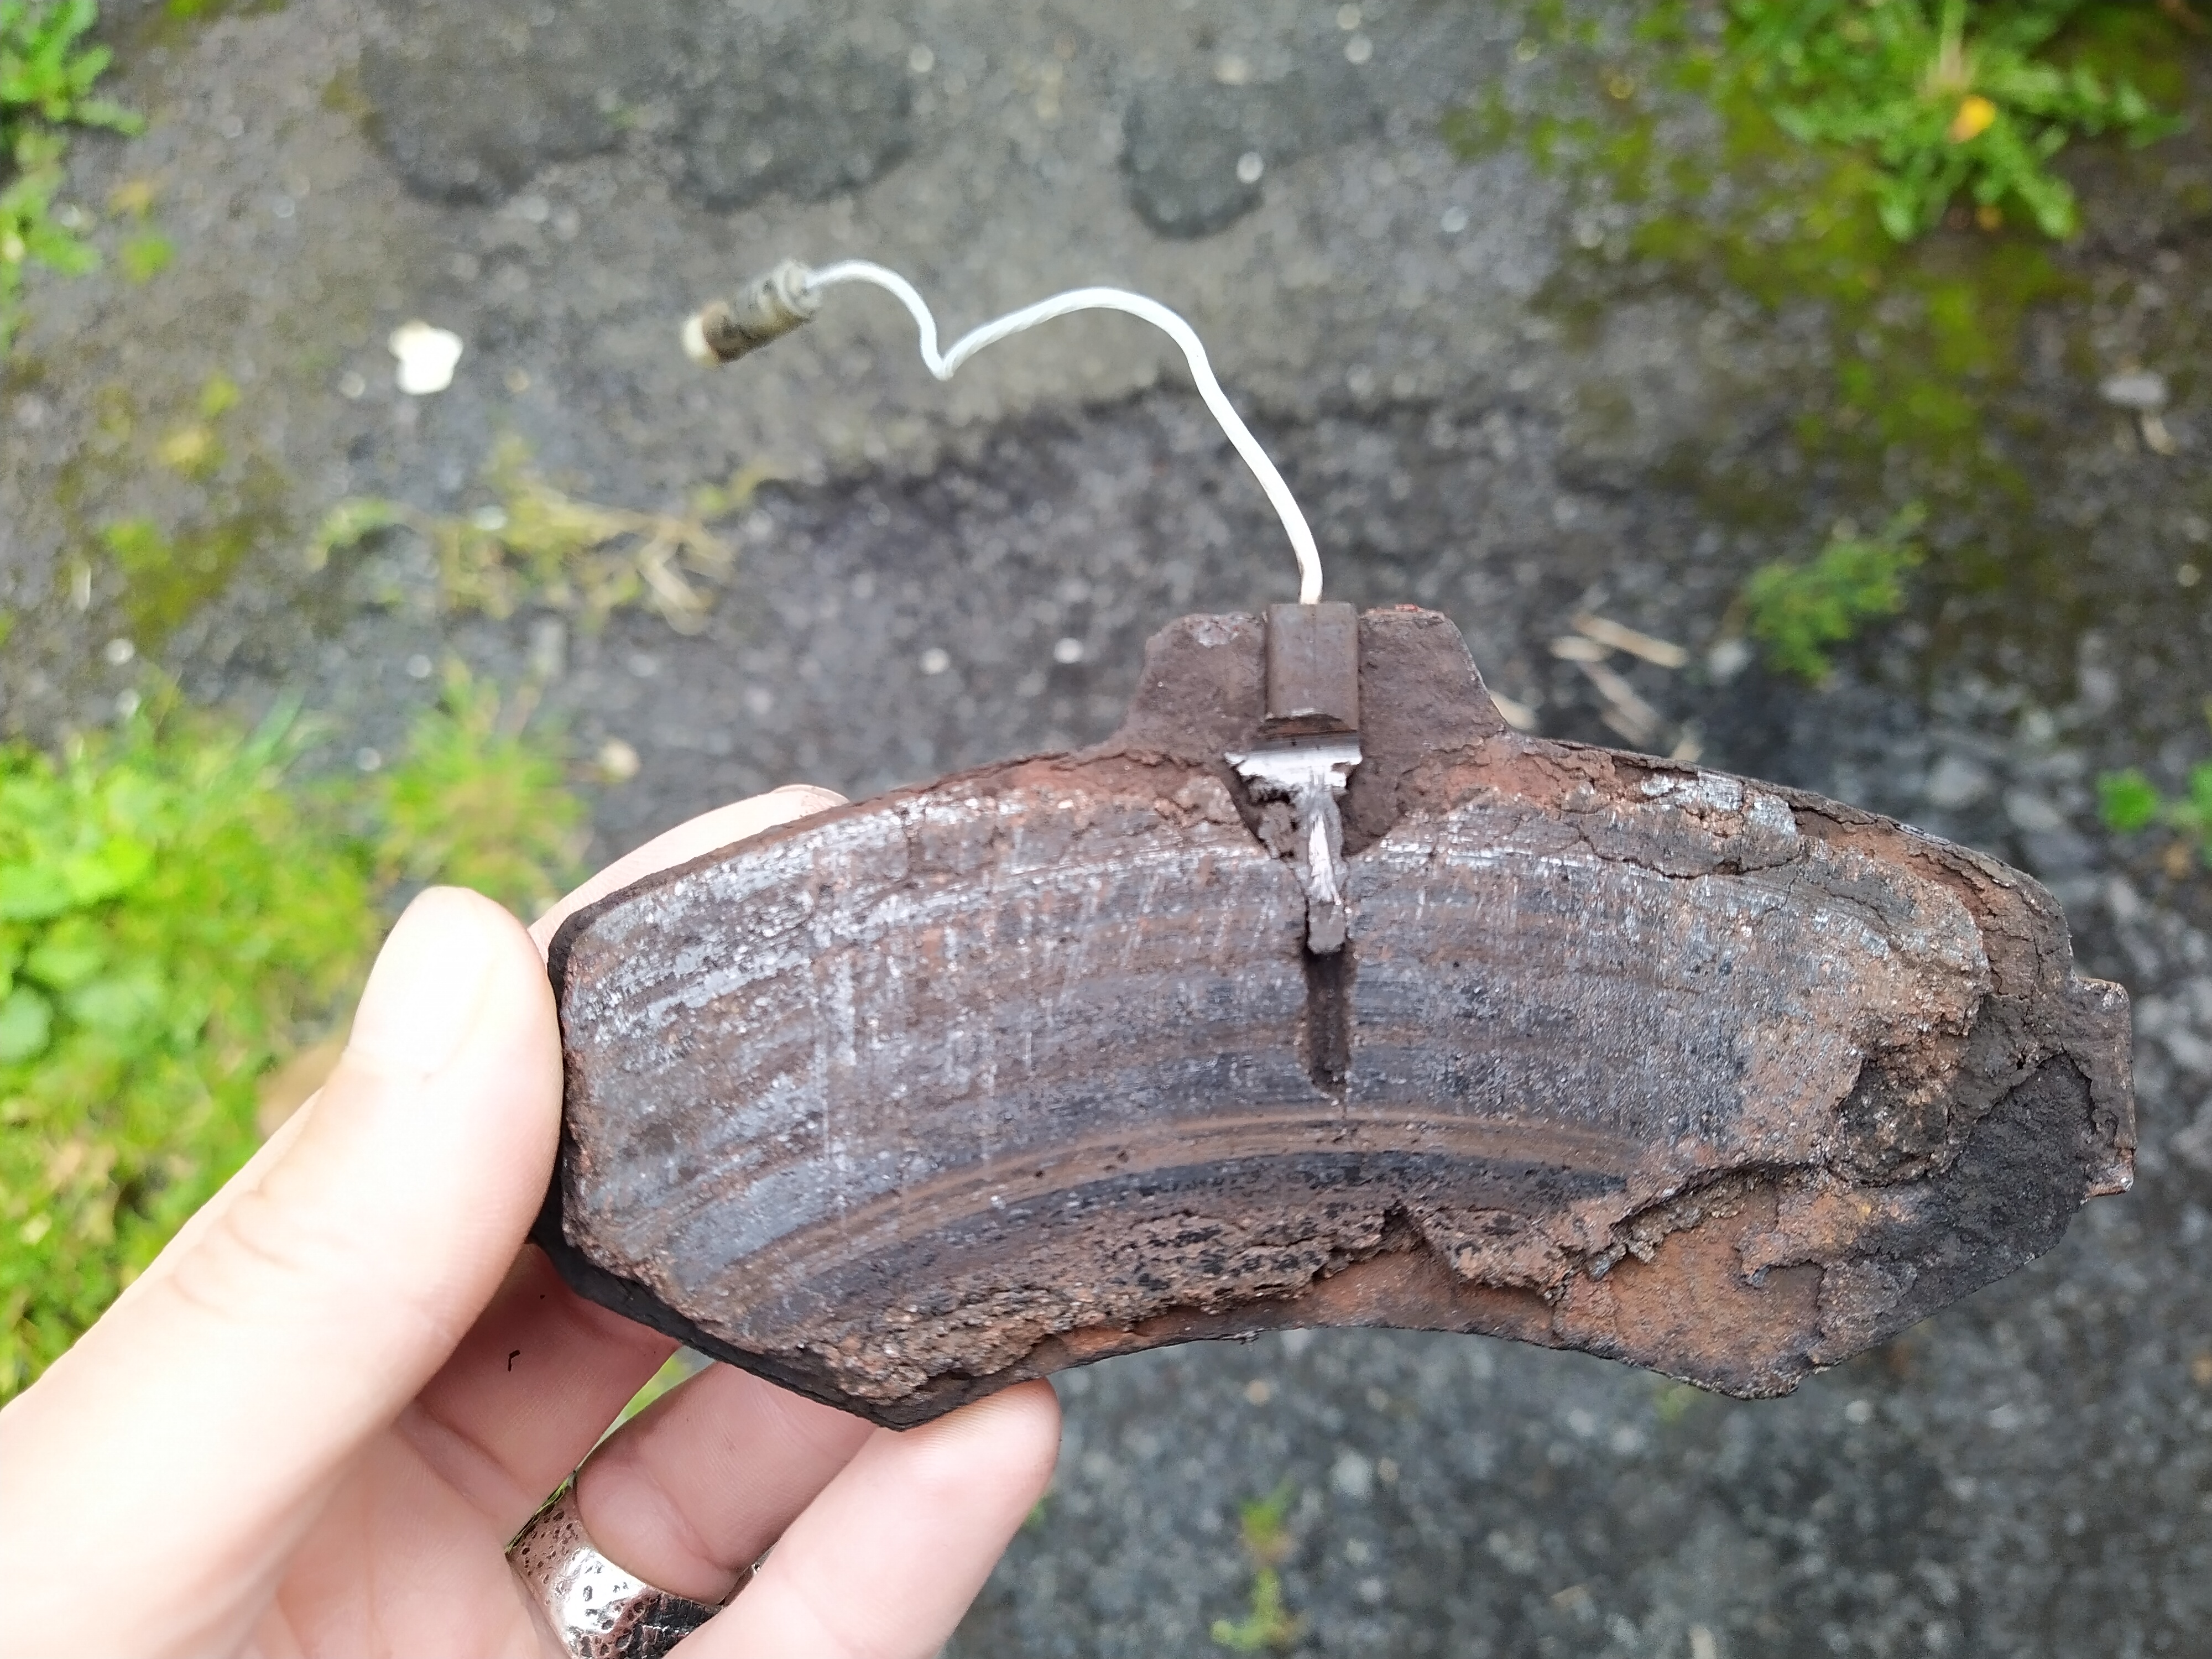
The front pads weren’t much better when we got onto these! As you can see there wasn’t a whole lot of meat left on the pads, and the wear sensor has actually melted into the pad, interestingly without setting a warning light off… We had to chisel them off the discs they were in such a state. The front caliper bolts had been hugely over-tightened and Loctite had been extensively used so it was emotional getting them off! Once again, we refurbished the calipers ensuring they’re good to go for hundreds more miles.
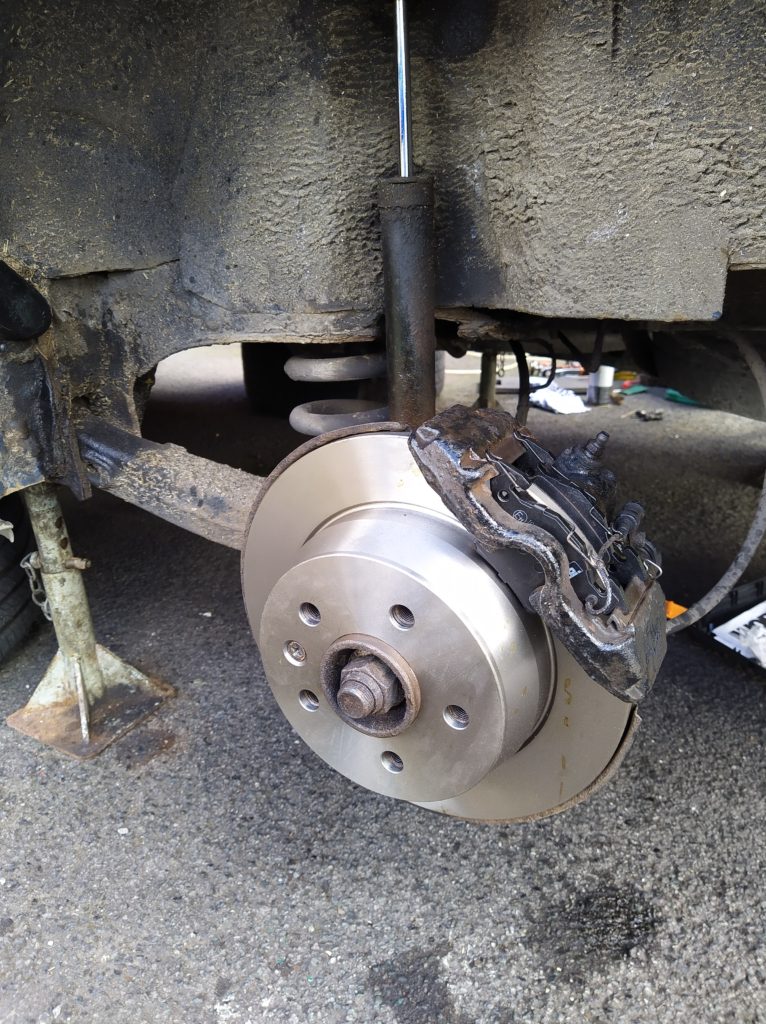
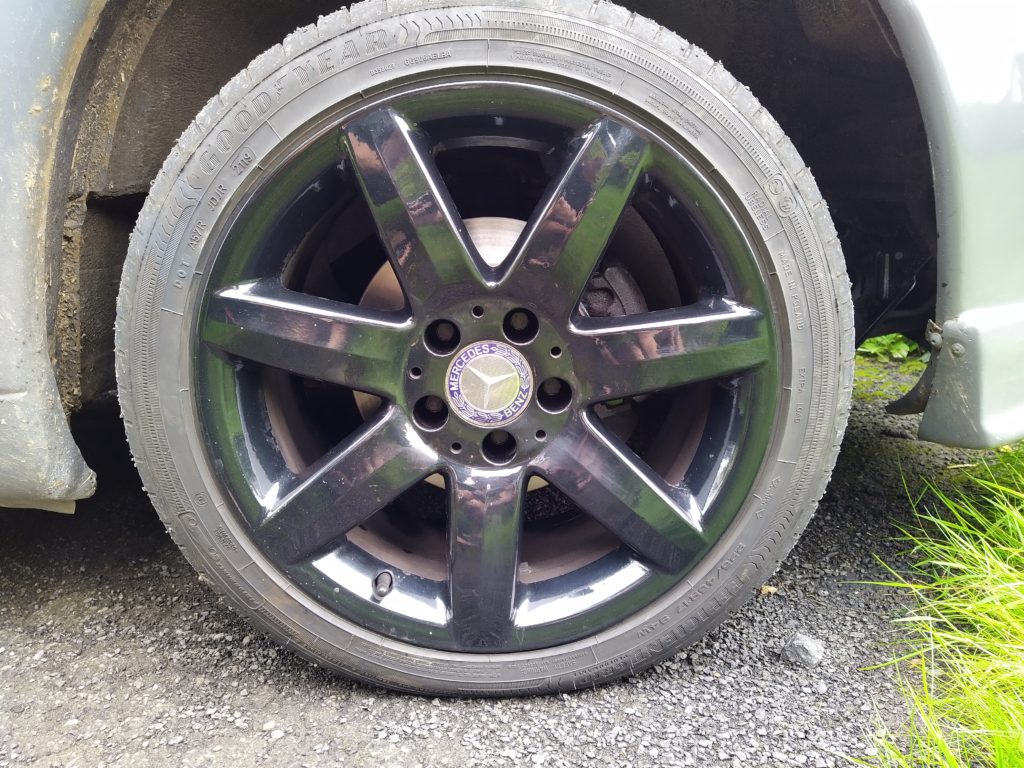
Then here’s the finished product. We cleaned up all components, used copper grease where necessary and correctly torqued all parts back up. We then bled the brakes through, flushing all of the old brake fluid out which was very black and dingy!
All in all, it took us one day of hard graft to change these, saving hundreds of pounds compared to going to a garage. We also were able to complete the work to our high standard ensuring the brakes will be in great condition for years to come, and when it comes to servicing them next time it won’t be so difficult.
If you are keen to give servicing your own vehicle a go, I would definitely recommend it providing you have a good set of tools, a safe and spacious work area and someone to help who’s confident with hands-on work. This is the first time I’ve done such a big job on my van as I am used to working on my bikes, but I really enjoyed it and will definitely be doing all the work on my van now.
As ever, if you have any comments, questions or advice please feel free to email me on thefemaleengineerblog@gmail.com
Emilie
The Female Engineer


5 Comments
Did it pass an MoT in that state….jeeze!
Haha! Well it did in November last year, only about 1000 miles before this was taken…
Wow. Amazed the tester let that go!
A good job well done by yourselves by the look of it.
I use a Silverline product with graphite oil and CO2 in it to free off rusted stuff..particularly good where you are dealing with painted parts or fuel and you don’t want to start waving a flame about!
Aren’t cars/vans a pain to work on compared to motorcycles?
It was just an advisory on the handbrake, amazingly! Pretty glad I didn’t have to get it all done in a rush last year to get through MOT, it’s always best when you can just plan it to fit in with life!
Ah that sounds great, what is it called? Sounds like I might need a can of that in my garage! I’m always freeing off rusty things with this van…
They definitely are, bikes are so much easier but I am getting around to liking working on four-wheelers a bit more!
Sorry, it’s SilverHOOK quick-release freeze spray.