As the first in my new series of “how to” guides, I’m going to take you through some simple steps to ensure your car/van isn’t going to fail it’s MOT on easy fixes. It’s so demoralising having your car fail it’s MOT, trust me I’ve been through it enough times with my beloved rusty van and the various comedy cars I’ve had over the years. This guide is mainly aimed at cars and vans, but there are some specifics that can also be applied to motorbikes and scooters. I will put together a guide for two-wheelers, as an ex-MOT tester for motorcycles I hope to provide an insight for people.
So go and grab your keys and let’s prepare your vehicle for passing an MOT.
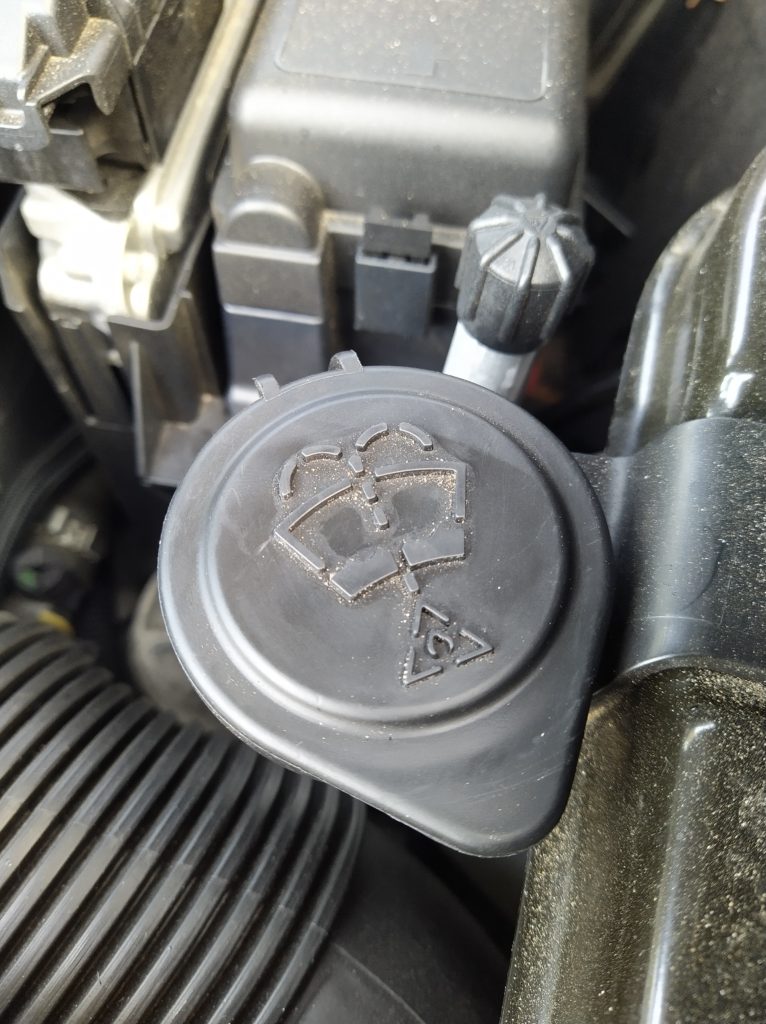
Step #1 – Screen Wash and Wipers
Let’s not start too complicated, but believe it or not you can fail an MOT for not having any screen wash in your car or your windscreen wipers not working effectively. Make sure your screen wash is topped up, and that your wipers clear the windscreen instead of smearing the fluids around the screen.

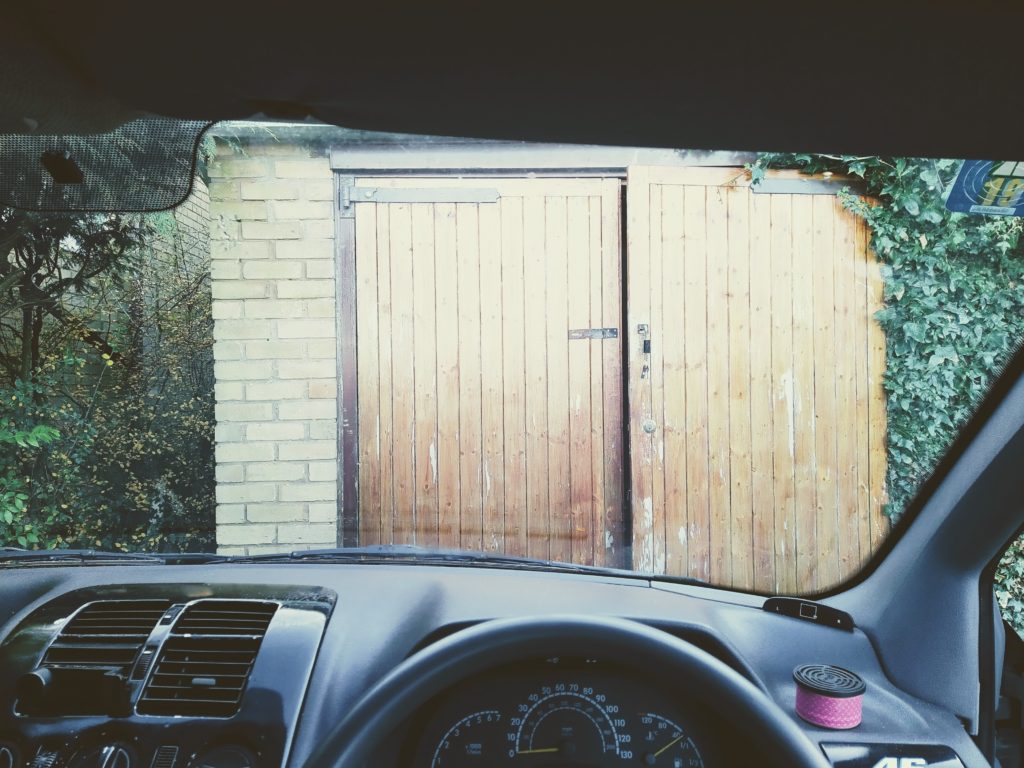
Step #2 Driver Visibility
Jump in your drivers seat and take a moment to stop and look out of your windscreen. Is there anything obstructing your view? Did you know that if you have air fresheners dangling from your rear view mirror you can fail your MOT? If you do have anything on your rear view mirror I’d recommend just taking it down and putting it around your gearstick for the time being. Do you have a phone cradle or satnav bracket that’s mounted on your windscreen? Make sure this is out of the way of your line of vision – if in doubt just take it off for your MOT and then put it back on again once it’s been done. Finally, windscreen cracks are another thing to look out for…these are only an MOT failure if they are in either of the two categories:
- Over 40mm in length, no matter where on the windscreen this is an instant fail
- Over 10mm in length, if it is in your line of sight. Basically, look at your steering wheel and the whole height of your windscreen as wide as your steering wheel is where your “line of sight” is.

Step #3 – Lights and Indicators
This is another super simple thing to check and is such a common fail item. Whilst you’re sat in your car, key on your ignition and go through and make sure all of the following items work correctly (this is much quicker if you’ve got a handy assistant!):
- Front headlights – on both dipped and main beam, both sides.
- Rear lights – make sure this doesn’t change when you go between dipped and main beam, sometimes you can get comedy electrical issues! Make sure both lights work.
- Indicators – front, rear and any side repeaters you may have on your vehicle (smaller indicators which sit flush on the side of your car, not all vehicles have these).
- Hazard lights (all four indicators should flash at the same time).
- Brake lights – make sure both sides work, and if you have a repeater in the centre of the back of your vehicle this should work too.
- Fog lights – both sides front and rear, whatever design your car has in terms of fog lights, all available lights should be in full working condition.
- Number plate light – I’ll go into more detail in Step #5 on this, but make sure your rear number plate bulb works.
Make sure you don’t have any headlight deflectors or anything stuck on your headlights from travelling in Europe, your headlight beam aim will be checked and it will fail if you have these fitted.
Step #4 – Engine Warning Lights
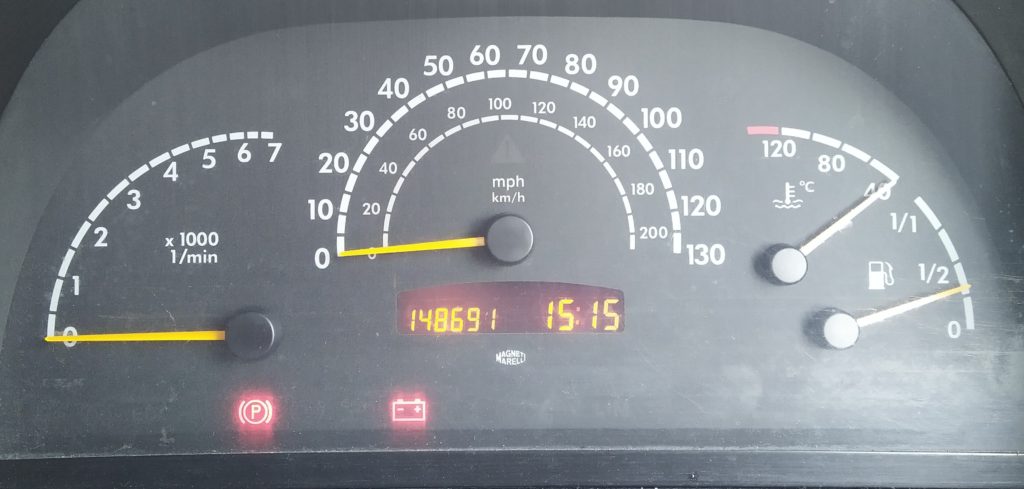
Your final check while you’re sat in your drivers seat is to make sure you have no warning lights at all on your dashboard. These are an instant fail, so make sure you don’t have any warning lights that come up when you turn your ignition on. If you do have any warning lights, these need checking out by being plugged into a diagnostic tool to read the fault codes, which unless you have one at home will have to be done by a garage. Most garages offer fairly cheap code reading services, which will be able to tell you what the problem is with your vehicle and how to rectify this.

Now we’ll get out of the car and start to do the external checks on your vehicle ready for it’s MOT.
Step #5 – Number Plates
Number plates are so important for vehicles, and something that can catch a lot of people out in their MOT. If you haven’t modified your plates at all, you just have to make sure that the plate is clearly visible and legible, which means the number plate needs to be clean and your number plate light needs to work!
Now onto the modifiers…you need to make sure your vehicle is fitted with standard number plates instead of any with different fonts, character spacing, colours/effects on the plate. Believe it or not, even if you just change the spacing of the characters from the standard format this will fail your MOT – trust me I’ve been there with my van! To get around this, I simply use Scotch double sided pads and stick the standard plate on over the top of my usual plate.
Scotch Permanent Mounting Squares (16 Squares per Pack), 25.4mm x 25.4mm
Step #6 – Tyre Condition
Tyre condition is one of the key MOT checks, but also something you should be doing on a regular basis as a car owner. Poor condition tyres are so dangerous, you can easily slide and loose control of your vehicle or have a blow out when you’re driving along. Because this is such an important part of the safety of your vehicle (it is your interface between the road and your vehicle!), there are a few checks you need to do on your tyres before going for an MOT.
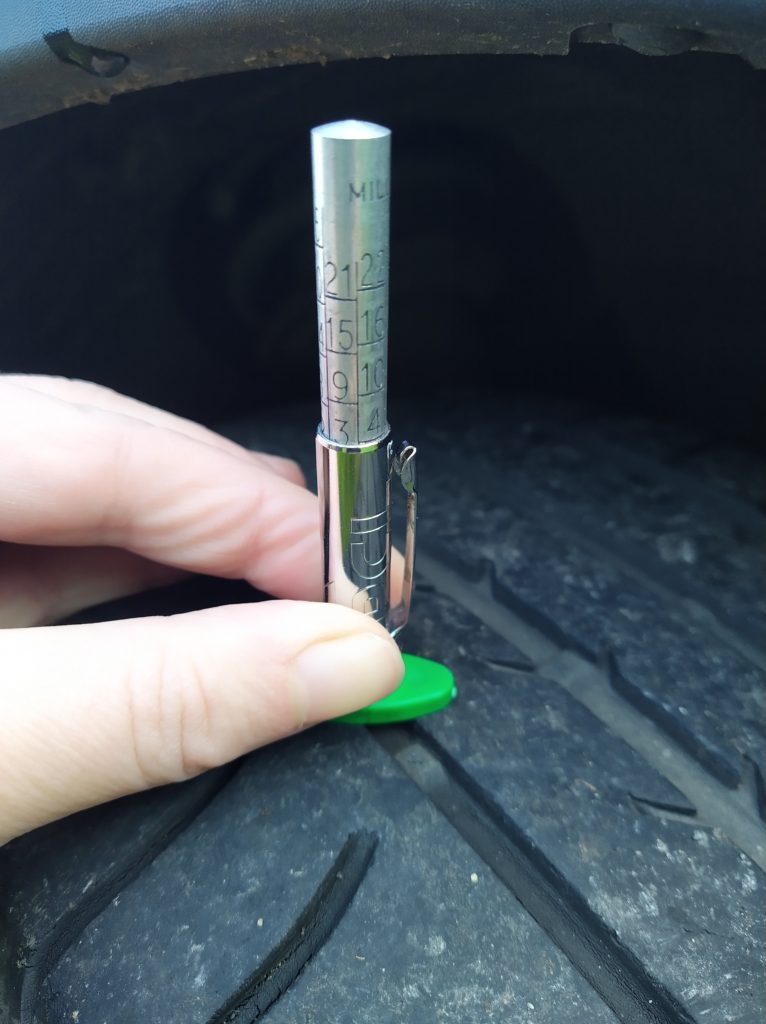
Tread Depth
I highly recommend buying a tyre tread depth gauge as it removes all issues of working out whether you’ve got 1.6mm of tread left on your tyres. Put the gauge on three places across each tyre, making sure you check the inner part of your tyre as they can wear unevenly if your wheel alignment isn’t quite right.

Recommended tyre tread depth gauge, super cheap and simple to use:
Silverline 380151 Tyre Tread Gauge, 1-25 mm
Sidewall Condition
Checking the condition of your sidewalls of your tyres is another important and easy check to do. It’s important that there are no bulges or lumps in the sidewall…if you see this then you need to go and get your tyre changed immediately as this is super likely to result in a blowout. You also need to make sure you can’t see the ply and cord of the tyre anywhere at all, and that there aren’t any cuts or tears in the sidewall.
It might seem daft, but make sure you check each tyre! Don’t assume that just because you had tyres fitted at the same time that they will have worn the same. And again, please make sure this is something you do on a regular basis alongside checking your tyre pressures, as tyre failures when you’re driving can be so dangerous.
Step #7 – Bodywork
The final simple step in our pre-MOT checks is to just walk around your vehicle…do you have any loose bodywork? Is there anything hanging off your vehicle or sharp and could cause an injury to someone? It might sound daft, but this will be deemed an MOT failure so make sure you don’t have any loose bumpers or sharp edges if your car has any damage on it.
Bonus Step – Brake Pad Depth and Handbrake Performance
If you’re confident, checking the condition of your brakes is a great final step to give you some confidence that you will pass your MOT. The first thing to think about is does your handbrake work okay? Or do you have to really pull it on tight and leave your car in gear otherwise it will roll away? Making sure your handbrake works correctly is a pretty easy check, you’ll notice this when you’re driving your car.
The second bonus check you can do is to check the depth on your brake pads. Now this depends on the type of wheels you have, as if you have alloys chances are you’ll be able to see your brake pads pretty easily. Ideally you should have 2mm of depth on your pads, so shine a torch into your brake caliper and see if you can estimate how thick they are.
Unfortunately there is a lot of other criteria in the MOT which you could get tripped up on, emissions, suspension and general body condition (rust!) being the major players that aren’t very easy to just check at home. But if you have followed these steps, you’ll be sure that you won’t fail your MOT on simple things that are relatively easy to check and rectify before you take your vehicle in.
If you have any questions on anything I’ve spoken about in this guide, please get in touch and I will help to clarify anything you may be wondering about. Thanks for reading, and good luck with your MOT!
Emilie
The Female Engineer
*Disclaimer – as an Amazon Associate I earn from qualifying purchases.


